
The Art of Turntable Alignment: Tools and Techniques for a Perfect Setup
Turntable alignment is the foundation of strong vinyl sound. If you want your records to sound clear and your gear to last, you need the right tools and good technique. This guide breaks down how to align your turntable with confidence and precision.
Why Turntable Alignment Is Important
Alignment affects every aspect of your listening experience. When your cartridge sits at the right angle and distance, music is clean, distortion is low, and grooves last longer. Your setup makes the difference between muddy and sharp sound.
Poor alignment wears down records fast. Corrections protect both the stylus and the vinyl. You also preserve left-right separation and real dynamics—this is the detail pressed into your records.

Key Elements of Turntable Alignment
Alignment comes down to a few basic factors:
- Overhang measures how far the stylus extends past the spindle-to-tonearm pivot.
- Azimuth is the left-right tilt of your cartridge. Proper tilt balances both audio channels.
- Vertical Tracking Angle (VTA) sets the stylus angle in the groove. Adjust it by raising or lowering the back of your tonearm.
- Anti-skate applies sideways force to keep the stylus centered.
- Tracking Force is the weight pressing the stylus into the groove. Use a scale for accuracy.
Get these right, and your records sing.

- For MM/MC/MI and Piezoelectric Acoustical Pickup, Nonmagnetic, No Magnetic Field Adhesivity, Reading Reliable
- High Precision and Accurate Stylus Gauge for Accurate Stylus Force Adjustment
- Accurate Stylus Force is Important for Ensuring the Playback Result and Life of Your Valuable Records and Cartidge

Alignment Tools You Want
You don’t need a full lab—just a handful of tools make setup easy and repeatable:
- Cartridge alignment protractors: The simplest tool for overhang and angle. Mirrored acrylic models add clarity. Hudson Hi-Fi and Mobile Pro Shop sell solid options.
- Digital stylus force gauge: Sets tracking force down to the decimal point. Neoteck is a popular model.
- Azimuth blocks and bubble levels: Acrylic blocks and spirit levels help with vertical and horizontal checks.
- Anti-skate test records: Blank groove LPs allow for accurate anti-skate adjustments. Tacet Test LP is a reliable pick.
- Magnification tools: Jeweler’s loupes or smartphone microscopes let you check the stylus and cantilever up close.
Each tool bumps your accuracy.


Getting Started: Preparing Your Workspace
Start with stability. Put your turntable on a solid, vibration-free spot. Level the platter with a bubble level—double-check from a few angles. Small tilts throw off alignment.
Mounting the Cartridge
Attach the cartridge loosely to the headshell. Keep screws soft so you can shift positions. Tighten later.
Setting Tracking Force
Balance the tonearm so it floats level above the platter. Use your stylus force gauge to set weight within the cartridge’s range. Ignore the tonearm dial—manual scales trump best guesses. More info here.
Aligning Overhang and Offset
Place your protractor on the platter. Touch the stylus to the first null point and line the cartridge up with the crosshairs. Adjust for both grid points—outer and inner. Check stylus alignment at both. Accuracy here cuts groove distortion.
Dialing in Azimuth
Put the azimuth block in place. Lower the stylus into the groove and check if the cantilever stands straight up. Tilt left and right as needed until it’s perfectly vertical. If you hear uneven sound from left or right channels, fine-tune by ear.
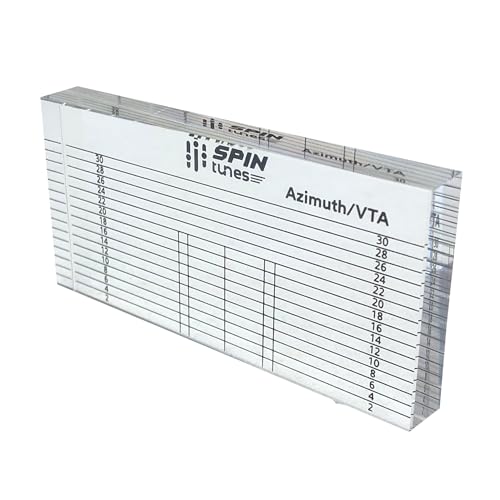
- Accurate VTA Adjustment: Achieve optimal sound quality by precisely setting your turntable’s Vertical Tracking Angle (VT…
- Azimuth Alignment Perfection: Fine-tune azimuth alignment effortlessly, enhancing channel balance and stereo imaging for…
- Universal Compatibility: Designed to work with a variety of turntables and cartridges, our VTA Azimuth Ruler is a versat…
Adjusting Vertical Tracking Angle (VTA)
Lower the tonearm onto a record. Check that it runs parallel with the vinyl. If it’s not, tweak tonearm height or use headshell shims. Small changes matter—a fraction here is the difference between harsh or warm sound.
Setting Anti-Skate
Start with anti-skate matched to your tracking force. For finer tuning, use a blank groove record, or listen for channel distortion on loud sections. Adjust until distortion stops.
Final Listening Checks
Lock in all screws. Drop your favorite album and listen for crisp highs, strong bass, and full balance. If music sounds off, revisit each step.

Common Mistakes and How to Avoid Them
- Overtightening cartridge screws warps the shell—keep firm but gentle.
- Ignore dirty records and you mask alignment errors.
- Never trust counterweight dials alone—use a scale.
- Rushing means missed steps and long-term problems.
Go slow. Each adjustment counts.
Going Further: Advanced Alignment
If you’ve mastered the basics, you can go deeper:
- Use a microscope for stylus rake angle checks.
- Try custom arc protractors for turntables with known pivot-to-spindle distances.
- Use test records with separation measurements.
- Hone resonance by fine-tuning cartridge loading.
These tweaks demand more tools and patience but lift the quality ceiling for high-end gear.
Cartridge Alignment Protractors (Types and Use)
Alignment protractors come in several flavors:
- Baerwald: Balances tracking error across the record.
- Stevenson: Prioritizes inner groove accuracy.
- Löfgren A/B: Lowers overall error, best for purist setups.
Print free templates from reliable sources or buy mirrored acrylic protractors for repeatable results.
Arc protractors work best if you know your table’s geometry; universal protractors provide decent accuracy for most setups.
How to Use a Protractor
- Place the protractor on your platter.
- Lower the stylus onto the outer null point. Line up the cartridge with the grid.
- Move to the inner null point and repeat.
- If the cartridge isn’t square at both, adjust until it is.
- Re-tighten screws and recheck alignment.
Accuracy at both points is key.

Azimuth and Channel Balance
Azimuth sets the stylus upright in the groove. Poor azimuth tilts sound left or right and can even cause serious distortion. Block tools or acrylic aligners make this simple—just watch head-on and adjust.
For more precision, use mono test tracks to spot channel balance.
Vertical Tracking Angle (VTA) and Stylus Rake Angle (SRA)
VTA influences how high or low the rear of the tonearm sits compared to the record surface. Use the platter edge or an acrylic block for reference. If music gets thin or sharp, lower the tonearm. If it’s muddy, raise it back up.
SRA refers to the stylus tip’s angle, best checked under magnification. Stylus shapes and cartridge builds vary, so small tweaks by ear help here.
Anti-Skate Settings
Anti-skate keeps the stylus balanced in the groove. Set it to match tracking force or adjust by ear using test records. If one channel gets noisy or fuzzy, keep dialing it in until balance returns.
Tracking Force
Tracking force sets pressure of the stylus. Too heavy, and records wear out quickly; too light, and you’ll skip and mistrack. A digital scale—like Riverstone Audio’s—removes the guesswork.
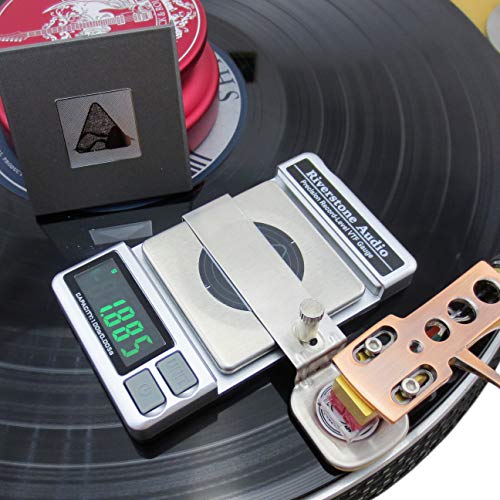
- A Professional digital tracking force scale designed for vinyl record purist’s interested in precise measurement of vert…
- For optimal accuracy, tracking force should be measured at the same vertical position as the record surface. With Rivers…
- Precision measurement sensor provides 0.005 g resolution and accurate measurements over the entire calibration range. To…
Listening Tests
After adjustments, play familiar albums with clear vocals and sweeping instrumentals. Listen for sibilance, dullness, and left-right balance. Small issues often point to alignment gaps.
Test old and new records for consistent sound. Any weird artifacts signal a review is needed.
Troubleshooting Alignment Problems
- Excessive distortion at the end of records? Check overhang and offset.
- One channel louder? Review azimuth.
- Bright or harsh sound? Lower VTA.
- Skips or jumps? Set tracking force higher and double-check anti-skate.
Each fix zeroes in on specific setup flaws.
Turntable Alignment Step-By-Step Summary
- Level the platter.
- Attach cartridge loosely.
- Set tracking weight with a gauge.
- Align using protractor (both null points).
- Adjust azimuth.
- Fine-tune VTA by checking tonearm height.
- Set anti-skate.
- Lock screws and test.
Rerun each step if sound falters.
Advanced Listening Techniques
Audiophiles use mono records for azimuth, harsh test tones for anti-skate, and bass-heavy tracks for tracking force tweaks. Keep test records handy.
Digital tools, like phone scopes or channel separation analyzers, add precision. Use them when your ears hit their limits.
Maintaining Proper Alignment Over Time
Dust, bumps, and wear shift alignment. Recheck every few months and after cartridge swaps. Replacement stylus? Re-align from scratch. Keep tools close and revisit steps as often as needed for clean sound.
Conclusion
Perfect turntable alignment rewards you with crisp sound, balanced channels, and minimal wear on your records and stylus. With a solid approach and the right tools, you set up your gear to play music exactly as it’s meant to be heard. Spend a little extra time dialing in alignment and you’ll get the most out of every record spin, every listening session, every cartridge swap.


